Learn the basics of winterization and protect your home from winter weather!
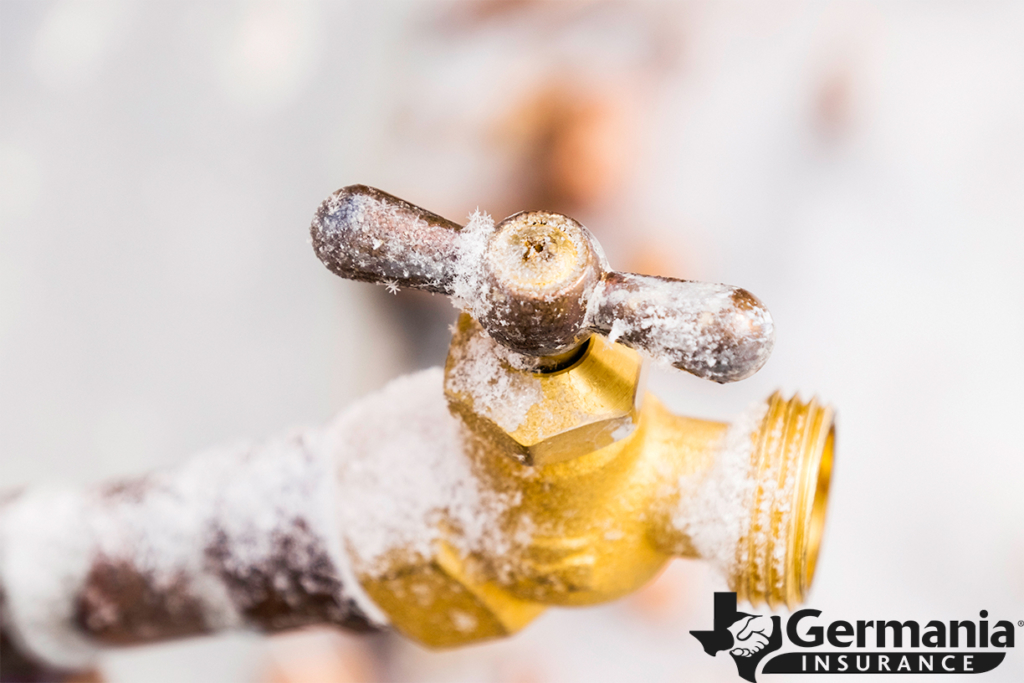
Winter in Texas can vary drastically; one year we barely notice the season, but the next, the entire state is buried in snow for a week. Just as our heavier winter clothes are stuffed away and forgotten some years, our winterization habits may fall to the wayside as well. But we never know when the next barrage of icy weather may blow through and if we aren't prepared, our homes may suffer from the sub-freezing temperatures.
That's why now is the time to brush up on your home winterization essentials! Today, we'll guide you through the steps and show you how to winterize a house for the next Texas winter - read on!
Table of contents
How to winterize a house
1. Cover outdoor pipes
2. Check your heater and chimney
3. Winterize windows and doors
4. Caulk cracks
5. Inspect the roof, clean gutters, and trim trees
6. Inspect attic and insulation
7. Winterize sprinklers and hoses
8. Winterize plants and landscaping
How to winterize a house without heat or power
1. Turn off the water main
2. Drain it all
3. Use antifreeze
Winterization in an apartment
Winterizing Your Home: How to winterize a house
February 2021 was an unfortunate reminder of just how brutal winter can be in Texas, even if such an event is rare. But it doesn't take a
polar vortex and state-wide power outages for freezing temperatures to damage your home. Even a weaker cold front can cause outdoor pipes and plumbing to freeze and burst if your home is not properly winterized. Fortunately, winterization practices are simple and inexpensive, especially when compared to the damages caused by a broken pipe. Below we'll cover the basic steps you'll want to take to winterize a house.
1. Cover outdoor pipes
.jpg?sfvrsn=39529520_0)
Outdoor hoses, pipes, and faucets are the most obvious things at risk of freezing and the most important part of your house to winterize. If they are filled with water when the cold hits, they could freeze, expand, and rupture. If temperatures aren’t too low for too long, a styrofoam or insulated faucet cover can be a cheap solution. These simply latch on to the spigot and seal it off from the outside air. A towel and duct tape can do the trick if you're in a pinch, too, but that is certainly not the best method.
However, if you’re expecting intense cold for a sustained period, it might be necessary to cut off the water supply to the outside faucets and drain them. This is the only sure way to prevent them from freezing and breaking.
Hoses should be disconnected and drained. While an empty hose won't suffer from freezing temperatures, they make a perfect hideout for
snakes and
insects seeking shelter from the cold. Unless you're trying to make a critter condo, it's a good idea to store hoses in a garage or storage shed.
2. Check your heater and chimney
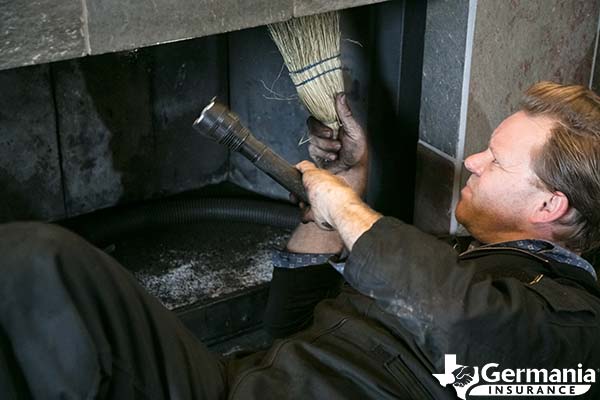
Winterization isn't just about making sure parts of your house don't freeze - it's also about making sure your
heating methods are functional! Before the cold of winter really sets in, it's a good time to contact your local HVAC service to inspect your heating system. You can also ensure that your system runs optimally by cleaning the filters and vents.
If you use a fireplace to keep your house nice and toasty, make sure your chimney flue isn’t filled with squirrel or bird nests before lighting that first fire. It’s also a good idea to build a smaller preliminary fire to allow the hot air to rise all the way up through the column before opening the flue. Otherwise, the dense, cold air could flood in and push the smoke out before it’s had a chance to warm the pathway up and out.
3. Winterize windows and doors
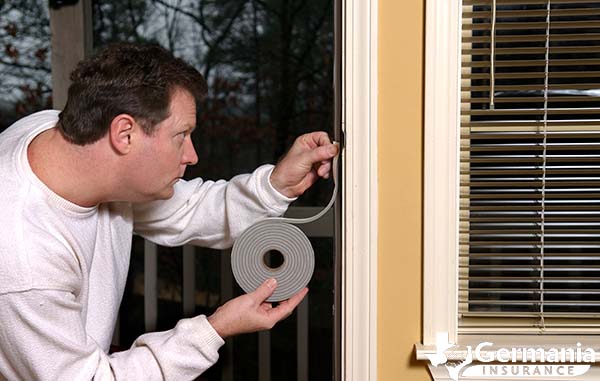
Heaters and fires won’t do much good if the warm air is escaping! That's why your winterization process should always include a door and window inspection. Inspect your windows to make sure they are properly sealed and
cover any holes with a durable caulk or weatherstripping. It’s also important to check the weatherstripping around your door frame and
replace it if it’s worn or damaged. Not only does this keep the cold air out, but it also ensures little critters don’t invite themselves in and take a seat next to you at the fire!
4. Caulk cracks
.jpg?sfvrsn=83fadf1e_0)
Look for cracks in and around your walls and seal them with caulk. Although doors and windows are the most likely areas of your home to have cracks and gaps, you'll want to conduct a thorough inspection of the interior and exterior portions of your home as you take steps to winterize your house. Look for any sort of gaps in the walls, siding, and trim that could allow warm air to leak out of your house and properly seal it with caulk or sealant of some kind.
5. Inspect the roof, clean gutters, and trim trees
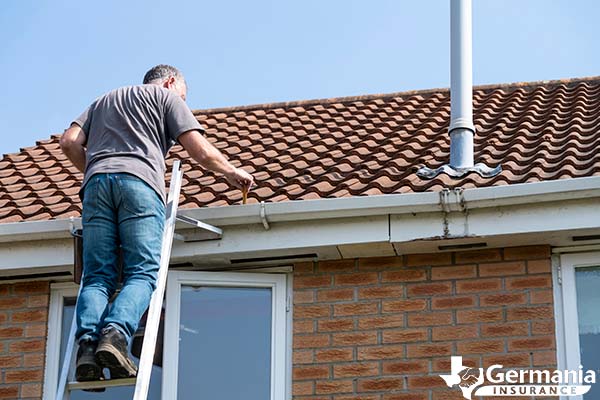
Hot air rises, so it’s important that your roof is properly winterized. If you’re confident with a ladder, carefully inspect the
shingles and make sure there are no obvious holes. While you’re up there, you might as well clean all of the leaves and sticks out of the gutters and downspouts. Clogged gutters can accumulate extra water, which can be a big problem, especially when frozen.
Winterizing your home also means winterizing your yard! If freezing rain or snow accumulates on trees near your house, it could cause them to sag and
damage your roof. Take the time to trim any limbs back away from your roof and windows.
6. Inspect attic and insulation
.jpg?sfvrsn=54660101_0)
The insulation in your attic plays a major role in keeping your home warm during the cold days of winter. When winterizing your house, take a peek in the attic to ensure that all of the insulation is in place and in good shape. If any cracks or gaps open your attic to the outside, unwanted guests like rodents and insects may take advantage of the shelter and can even tear your insulation up to use as a nest. Replace any damaged insulation and seal cracks as needed.
You'll also want to inspect any vents in your attic;
vents serve an important function by helping your home regulate temperature. Make sure the vents are unobstructed and functioning properly.
7. Winterize sprinkler systems
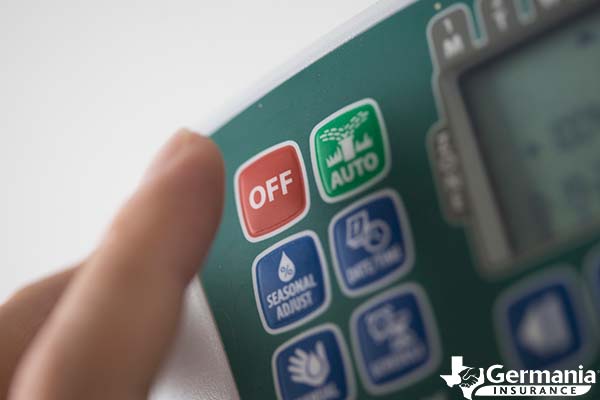
Most sprinkler systems are made out of PVC piping, which is flexible to a degree, but can burst if conditions are right (or wrong). While the ground can be sufficient insulation from a more mild freeze, it’s better to err on the side of caution.
The exact steps you'll need to take to winterize your sprinkler system will vary depending on how your system is built. However, the process is generally the same: Cut off the supply of water to the system and then drain the water from it. You may also want to turn off your sprinkler timer should you have one.
If you’re unsure of how to go about doing this, your owner's manual should have a section with instructions for winterization. Otherwise, consult the advice of experts, such as the company that initially installed the system.
8. Winterize plants and landscaping
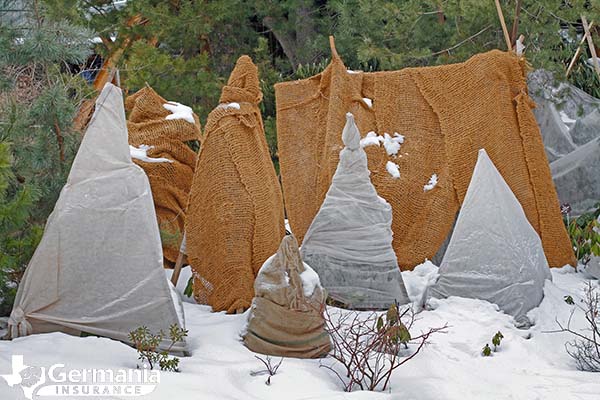
Plumbing isn’t the only thing that hates freezing weather! As you winterize your home, don't forget about your plants! If you have potted plants, find a place in a shed or garage that can offer some protection from the frigid elements. If they are planted in the ground, try and cover them with bed sheets and quilts. This won’t always save them, but short of digging them up and bringing them inside, it’s the only real option you have.
Although it may sound counterintuitive, watering your lawn before a freeze can help winterize your lawn and protect your grass from the cold. Water in the soil helps maintain heat and can prevent the ground from freezing solid. You can water in the evening for best results overnight - just make sure to disconnect your hose and protect your outdoor faucets after!
Winterizing your home: How to winterize a house without heat or power
Most of the winterization steps listed above help protect the outside of your home and prevent heat from escaping. However, as we Texans have seen in the past,
power outages during the winter can be a serious problem for the inside of your home. Without a source of heat, temperatures will quickly fall as the warm air seeps out into the freezing outdoor air. Eventually, the inside of your home will be cold enough to freeze the pipes. Even if you have a fireplace, certain parts of your house may still fall below freezing, so it's important to take additional steps to winterize a home without heat. These steps will also be useful for a vacant home, such as a ranch house or vacation property.
1. Shut off the Water Main
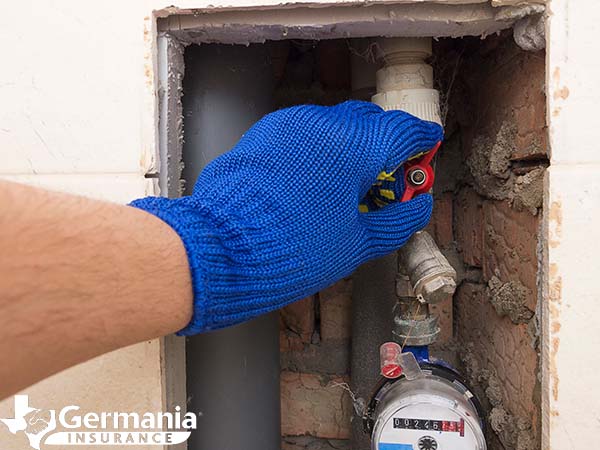
In more serious situations, winterization requires you to drain all the water from your home's plumbing system. This process is often neglected or forgotten until a pipe has already burst, but if you take action quickly, you can avoid disaster entirely.
Before you completely drain the water in your house, you’ll need to cut off the main source of water, often called the water main. If you don’t know where this is, you may have to
do a bit of searching. It is often found in a sunken metal or concrete box somewhere in between your home and the street.
Even if a freeze is not in the forecast, it's always a good idea to make sure you know where your main water shutoff valve is located and understand exactly how to turn it off ahead of time. Some valves require a special tool called a "
water meter key," so it is absolutely critical that you figure this out before an emergency situation. While some valves are circular wheels, others are levers, and it isn't always immediately obvious which direction is off or on. Finding your shutoff ahead of time gives you the opportunity to mark which direction is off so that you can do so quickly in an emergency.
If you have time beforehand, try to fill as many bottles of water as possible for drinking. Hopefully, the power outage will be short lived, but it never hurts to be prepared.
2. Drain it all
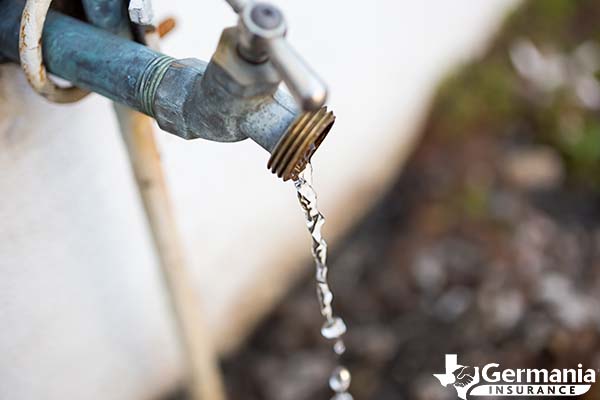
Cutting the water off is a good first step, but alone it will not prevent your pipes from bursting during a winter power outage with sub-freezing temperatures you also need to drain the existing water from your pipes to fully winterize your home's plumbing.
Start by opening the faucet at the lowest point of your house. Usually, this is a faucet, but it may also be an outdoor valve. Once it has drained, leave it open and then continue opening faucets throughout the rest of the house. You'll also want to flush the toilets until all of the water in the tank and bowl has drained.
While it may not seem like a big deal, it is important to drain from the lowest point. Unfortunately, some people neglect to do this, and their pipes still freeze and burst because the system has not been fully drained.
Finally, turn off your
water heater and carefully drain it. Usually, you’ll have to connect a garden hose to it so that you can direct the water outside. Check the owner’s manual for specific details.
3. Use antifreeze liquid
As a final, extra precaution in your winterization checklist, you can pour a small amount of plumbing antifreeze into your sinks and toilets. Even if you’ve flushed the toilets and cut off the water supply, there should still be water in the traps beneath your toilets and sinks. This is important as it prevents gases from the sewer lines from rising into your house.
To ensure that the water remaining in those traps does not potentially freeze, simply pour antifreeze in your sinks, toilet bowls, and the toilet’s tank (if it still has a little water in it). You should not use the same antifreeze that you use in your car, however. There are safe, non-toxic varieties of
antifreeze specially designed for winterizing pipes.
Winterizing your home: Winterization in an apartment
Preparing an apartment for freezing temperatures is like winterizing a house, although you don't likely have to worry about anything outside. Many of the previously mentioned tips, such as checking windows and doors, apply here as well. If you find that there are any places that need maintenance, make sure to speak with your front office about making those repairs.
It is also important to contact your front office or rental agency to check if they have any specific instructions. They may want you to let your faucets drip or ask that you keep your heater set to a certain temperature when you’re gone. Many apartment complexes give out winterization checklists at the start of the winter or when freezing temperatures are in the forecast, so be sure to check your mail.
In the event of a winter emergency, such as a power outage during freezing temperatures, your complex may cut the water supply to your building to prevent the pipes from bursting. Should they take this precaution, you'll need to check with them for further instructions. For example, they may need you to open your faucets to let the plumbing system drain, they may ask you to flush and drain your toilets, or they might even need to drain your water heater in rare circumstances. Do not, however, attempt to drain the water heater on your own. This is best left to the maintenance staff.
 When winter winds blow, you'll want to make sure you're property is covered! For more information about Germania's insurance products, request a quote online or reach out to your local agent today!